Hi Gardeners

I’m not worried about brown grass and I can water most of my flower beds. I am beginning to worry about the larger trees and shrubs. If the dryness continues we will lose a lot of them, especially if winter is harsh this year. Drought damage often shows up in the following year or two and drought stressed trees and shrubs have higher rates of winter kill.
What’s a shame is that when some areas of Michigan got rain it was
around the heavily populated areas like Detroit, where a sea of concrete
carried it into the storm drains. Such a
waste. A few areas of Michigan got heavy
downpours from time to time and those places might be little spots of green
among the brown.
In my garden I noticed many things are shorter than usual. My oriental lilies were blooming at 3 feet
tall, when they normally get to six feet. The tithonia is only 3 feet tall, last
year it was 6 feet. I water but unless one has drip irrigation or a good
overhead irrigation system it’s not the same as good, consistent rain. Next
year I just may have to put in a drip system.
My corn is making ears, but it too is smaller than normal. We are getting more tomatoes and peppers now,
I can water them. The pumpkins are way
out at the edge of our main yard, out of hose reach and they are really
suffering. My husband has been ferrying
buckets of water to them, but they still look poorly.
I guess it could be worse – our area could be on fire as well as
dry like many areas to the west and in other countries. We have a red flag warning here and I do
think about fire as we have huge brush piles from the trees that were cut down last
spring. Some are by the road, where a
tossed cigarette could ignite them but there’s not much I can do about it but
be watchful. My heart goes out to any of
you whose property and homes have been destroyed by fire. Please, all my readers, think about what you
would do if fire broke out in your area and make a plan for what actions you
would take to fight it or escape.
Another thing I was wrong about was the Japanese beetles. They are late this year, but unfortunately,
they finally showed up. My grape vines
are getting hit but in other areas in the yard it’s not as bad as last
year. Maybe drought discourages them
too.

My tropical hibiscus are happy though, all are blooming except the
Hawaiian one. My amaryllis has 2 huge
blooms and is making more. The water hyacinth has filled up its tiny pond and
is blooming like crazy. The buttered popcorn plant likes the hot dry weather
too and is getting tall and is full of flowers. The dahlias, cleome, cosmos and
zinnias are shorter than usual but blooming.
My summer bulbs don’t seem happy though, the cannas have some blooms and
the glads have buds but the coral drops, crocosemia, and peacock orchids have
yet to bloom.
The scents of summer
 |
| Yellow mirabilis |
As I sat down near my butterfly bed to do some weeding I noticed a
delicious smell. It was the yellow four o’ clocks (Mirabilis jalapa). The smell of yellow four o’ clocks in my garden
are pure delight, a deep lemony jasmine scent I wish I could capture in a
bottle. The other colors of four o’
clocks are more subtle but still pleasant.
I have a new type of four o’ clock this year too, called fairy
trumpets (Mirabilis longiflora). The blooms have a very long “trumpet”
neck. They are white with a rose center,
a nocturnal bloomer, and they also have a very pleasant scent. In that bed I also have night phlox or candy phlox,
(Zaluzianskya capensis), which also
has a sweet scent. The flowers look like
little white pinwheels with a deep red reverse side. In the daytime neither of these are very
noticeable but after dark they shine.
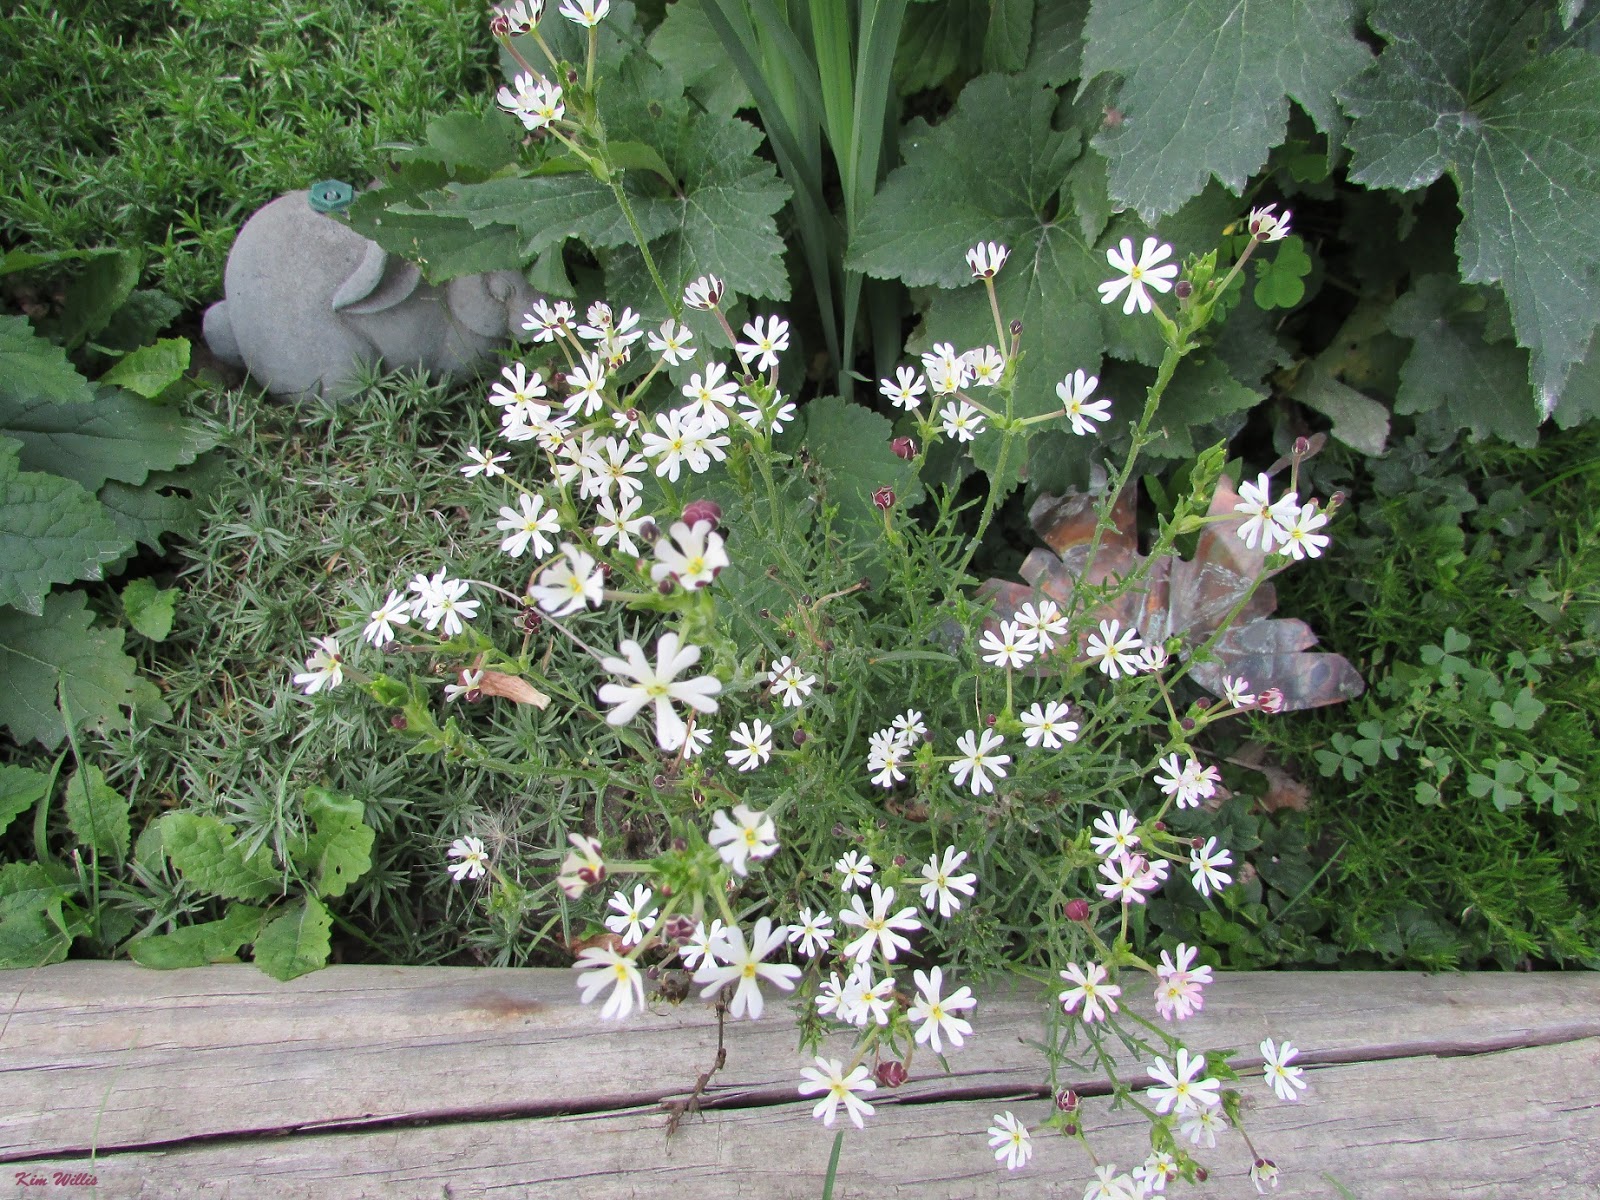 |
| Night phlox |
I was thinking I’d like to have a perfume with the scent of yellow
four o’ clocks so I could enjoy it all year round. So, I checked and sure enough several
expensive perfumes are made with Mirabilis (four o’ clock) scent. They include ‘Lucia Starlight’, Armani ‘Code
Luna’, and ‘Belle de Nuit’. No clue as
to what type or color of Mirabilis is used.
It seems though, that several perfumes include the scent. (I probably can’t afford them though.)
Other scents I adore in summer are the scents of Nicotiana sylvestris ‘Only the Lonely’,
Casa Blanca lilies, moonflowers (Ipomoea
alba), heliotrope, lavender, old damask roses, laurentia, summersweet (Clethra alnifolia),
honeysuckle and peaches. (Peaches are a
fruit, but they do smell lovely.)
Other summer scents include
that of datura, brugmansia, agastache, some purple and white petunias, some snapdragons,
garden phlox, mignonette, pinks, sweet alyssum, and melons. If you didn’t
notice your favorite flower scent here it may be that they don’t bloom in
summer. Spring and fall have their own suites of intoxicating scents.
If you live in other parts of the country you may be smelling
gardenias, camellia, jasmine, orange blossoms, tuberose, plumeria, ylang ylang,
freesia, banana shrub (Michelia figo), and probably many others I do not
know about. But I do like the scent of many of these warm climate flowers.
 |
| Mirabilis longiflora |
Even the foliage of many plants smells nicely. I like the smell of crushed peppermint, anise
hyssop, geranium (scented and common), beebalm (monardo), lemon verbena, clary
sage, lemon grass, chamomile, rosemary, sweet bay, eucalyptus, and
lavender.
Houseplants can smell nicely in summer too. Think hoya, jasmines, sanseveria, Michelia champaca (Joy perfume), Brunfelsia gigantea, (Lady of the Night),
Clerodendron philippinum,( Cashmere
Bouguet), Aglaia odorata (Chinese
perfume plant), Telosma cordata ( Chinese
violet), Hedychium hybrids ( Ginger lilies), Bouvardia hybrids, and Epiphyllum oxypetalum (Night blooming
cereus).
Scent is rather subjective as to whether you like it. For example, I dislike the smell of basil,
but some people like it. I like the smell of patchouli, but some people hate
it. Scent is strongly tied to memories for us.
If you only smelled lilies and carnations at funerals, you may dislike
the smell of them because you associate it with death and mourning. But you may smell honeysuckle with a smile,
remembering hot afternoons as a kid when you sucked the nectar from the
blossoms. Patchouli reminds me of hazy summer nights with another favorite herb
when I was younger.
I like the smell of lavender, but I had a boss once who hated it. No lavender scented products in his office.
Lavender is usually associated with “cleanness” and is often used in soaps and
cleaning products. Maybe he had his
mouth washed out with it too many times.
There is a new study out that found lavender scent calms horses. It
can be used when horses are being put into trailers or getting a farrier visit
or any time they are under stress. Here’s a link; www.sciencedaily.com/releases/2018/07/180728084141.htm
Aromatherapy links certain scents with various effects on humans
and other animals. Other than lavender, scents of summer such as geranium, chamomile,
rose, clary sage, ylang ylang, and fruity smells like sweet orange and grapefruit
are also calming and relieve stress.
Maybe that’s why most of us are happier and less stressed in summer.
If you’d like to have a perfume made from your favorite summer scents
you can try to make your own essential oils or use a technique where you press
scented flowers into a fat of some kind and let them sit. Or you can go online to one of the companies
that custom make perfumes. I tried one for kicks- you chose from a rather
limited selection of perfume character groups like sensual or elegant and so on
and your 1.7-ounce bottle costs about $80.
Not for me.
Or you can purchase a kit of essential oils with “fixers” and
carrier oils for about the same price. One
kit I saw had essential oils like “firewood” and “fresh dirt” whatever those
are, but no Mirabilis or lily. Some of
the so-called scents like “amber” or “white musk” are also made up names for
certain artificial scents. It might be
fun to experiment, but I’d rather spend the money on scented plants.
I guess I will be content with smelling summer in the garden when
it’s summer and choose from my collection of scented wax melts to make it smell
like summer inside in winter.
Dividing iris
August is a good month to divide your bearded iris. As iris grow they make huge clumps of plants
and as they get crowded your blooms will get less. Iris should be divided every 3-5 years to
improve blooming and keep the spot from getting too crowded. You may also want
to divide iris to give some to friends or make another garden bed. If you need to move iris to another location
in the garden August is also a good time to do it. It’s pretty easy to divide
iris and any gardener should feel competent to do it. You’ll need a good sharp knife to help divide
rhizomes, some scissors to cut the iris leaves and something to put your
divided rhizomes in. You may also want
some common household bleach for disinfesting rhizomes.
Start by deciding what you will do with the divided plants. If you need to prepare a new site, you should
get that done. Iris will “hold” outside
of the soil for a few weeks but it’s best to get them planted as quickly as
possible. Next dig the whole clump of
iris up. Irises have shallow roots, and
this is easy to do. If the clumps are
packed together in a bed you may cut through some with your spade as you lift
them, but you will generally have plenty of good rhizomes left.
Put the clump of iris on a tarp, a board, or on cement and gently
wash all the soil off the rhizomes with a garden hose so you can see what you
have. Cut the iris leaves back to about
3-4 inches; it doesn’t matter if they are cut on a slant or straight
across. Rhizomes are actually
underground stems and you will see joints or nodes along the rhizome with
leaves (or fans in iris terms), popping up along each node. Rhizomes are tan,
knotty looking and can branch off in unusual ways. There should be roots on the bottom of
younger rhizomes.

After a rhizome section blooms it will never bloom again. To determine which rhizomes sections are old
you can look for the dead flower stem.
Old rhizomes may also be devoid of roots and have tiny holes on the
underside where the roots fell off. In a
clump, old rhizomes are generally in the center.
Examine the clump you lifted carefully. You’ll want to divide iris between joints,
leaving each section with one or two sets of leaves and a healthy section of
rhizome consisting of 2 or more joints.
You can start new plants from a single node or section, but they will be
smaller and may not bloom for 2 years.
Sometimes you can snap the joints apart with your fingers but cutting is
more precise.
If the old rhizomes have new sections of rhizomes with no leaves
or very small leaves on them you can save the old rhizome and replant it with
the young daughter plants. It will provide food for them until they grow more
leaves. Otherwise discard old rhizomes
that have bloomed.
Examine the rhizomes you are keeping looking for mushy areas or
large holes in the top side of the rhizome.
Large holes may indicate iris borers and there may be a large pink worm
inside the hole. Those pieces should be
discarded in the trash, not the compost pile.
Soft, mushy areas indicate bacterial rot and should also be discarded.
Next add one cup of common household bleach, without scent added,
to a gallon of water and soak the good rhizomes for 10 minutes. Remove and allow them to dry in a sunny place
for a few hours. This removes disease
organisms. You can re-use the bleach
solution for several batches on the same day. If you know the name or color of
the iris you are dividing, you can write that on the leaves of the divided
pieces with a marker or add a label held on with a rubber band to the piece.
Replant the divided sections of rhizome shallowly, root side down,
leaves up, with the surface of the rhizome just under the soil. Plant 1 foot apart. Iris bloom best in full sun positions. If the weather is dry water the replanted
rhizomes once a week. Larger rhizomes
sections will probably bloom in the spring. Smaller sections may take two years to
bloom.
If you buy iris to plant, try to get them into the ground by
mid-September. This will make it more
likely that they will grow well for you and bloom the first spring.
When to harvest hints for the vegetable garden
 New gardeners and
old gardeners growing something for the first time often wonder when the food
crop they are growing is ready to harvest.
After all, when you go through the labor and time to produce your own
food you want to pick it when it’s at its absolute best taste and
nutrition. While experience will
eventually help you decide when to harvest here are some tips to help you
decide if some food crops are ready to eat.
New gardeners and
old gardeners growing something for the first time often wonder when the food
crop they are growing is ready to harvest.
After all, when you go through the labor and time to produce your own
food you want to pick it when it’s at its absolute best taste and
nutrition. While experience will
eventually help you decide when to harvest here are some tips to help you
decide if some food crops are ready to eat.
Tomatoes
Tomatoes are the
most frequently grown plant in food gardens.
Tomatoes help you determine when they are ready to pick by changing
color. Not all tomatoes turn red
however, some turn orange, pink, black, yellow, or a combinations of colors.
Some even stay green, although there is generally a difference in the shade of
green when ripe. Know what variety you
planted! Pick those tomatoes when they
are the right color and slightly soft.
If a tomato falls off before it’s completely ripe or a heavy frost is on
the way don’t worry. Tomatoes will
continue to ripen off the vine, even though the taste is better if they are
left to ripen in the sun. Don’t let
tomatoes get too ripe, when they get really soft and may even split or leak
fluids.
Pick all the ripe
tomatoes off a plant, even if you can’t use them. Picking them keeps the plant producing and
lessens the chance of disease from rotting fruits. Pick off those that have
spots, cracks, rotted areas and so on.
Compost unwanted fruits or give them to animals like chickens or if you
just have too many nice tomatoes and don’t want to can or freeze them donate
them to a neighbor, senior center or soup kitchen.
Once you get them
in the house don’t refrigerate tomatoes- this ruins the taste and actually
makes them spoil faster. Store them
unwashed- wash them right before use.
Store tomatoes that need to ripen a bit in a bright location but out of
direct sun. Store ripe tomatoes in a
darker location.
Peppers
Peppers vary
tremendously in size, shape and color.
Most can be eaten at almost any stage.
For sweet bell peppers you can harvest them when they are large, but
still green or let them ripen to red, yellow or orange. Hot peppers will be at their hottest at
maturity. Read the variety description
to know what the “ripe” color is. As
with most garden plants, keep the peppers picked to keep them producing. Once you pick them store them in a cool, but
not refrigerated place. Wash just before
use. Peppers can be cut up and frozen,
dried, pickled or canned to preserve them.
Eggplant
Eggplants are much
the same as tomatoes and peppers- when they are mature they generally change
color. All eggplants are not purple when
mature however, there are varieties that are orange, yellow, white and other colors. Pick eggplants when the mature color is
reached. Like tomatoes eggplants should
be stored at room temperature.
Cucumbers
The aim in
harvesting cucumbers is to pick them when they are young and small for the best
flavor, thin skin and keeping qualities. Different varieties of cukes have
different shapes when mature. Some are
long and slender, some short and plump. The long ones are better for fresh
eating but any cuke can be eaten fresh at a young age. Even cucumbers designed
to be pickles should be picked while they are still young and small. Most cucumbers will be green at this correct
eating stage although novelty cucumbers that are white or yellow when young
exist. When most cucumbers start turning
yellow however, they are getting past the best eating and pickling stage.
Pick all cucumbers
off the vine before they turn completely yellow to keep the vines producing.
You can store cucumbers refrigerated or unrefrigerated for several days.
Cabbage
Cabbage is ready to
harvest when a tight firm head has formed.
You’ll want to harvest these heads before they split, which if left in
the garden too long they will do. If a
split head is harvested immediately it is fine to eat, but after a few days a
split head will spoil and be filled with bugs.
If you aren’t ready to harvest your cabbage and want to keep them in the
garden a bit longer, give each plant a half turn to break some of the roots. This can delay splitting for a few more
days.
To store cabbage,
you can pull the whole plant and hang them upside down in a cool dark
place. This is how cabbage was stored
through the winter in earlier times, but few people have the right conditions
for this. Heads may sit for a week or two in a cool place without being washed
or having the outer leaves stripped off. Or strip off some of the outer leaves
and wrap the head tightly in plastic wrap and store in the refrigerator crisper
or other cool place.
Lettuce/greens
Greens should be
picked when they are big enough to eat but before the plant starts sending up a
tall, flowering stalk. Once greens bolt
or go to seed, they turn bitter. This
usually happens as the weather gets hot.
You can remove all or part of a lettuce plant (except heading
types). Wash greens and store
refrigerated after they air dry. Lettuce
that looks wilted as you harvest it can be soaked in a bowl of cold water in
the frig for an hour or so and it may revive and crisp up. There’s no real way to store leafy greens for
very long.
Green beans/ wax beans
For the best
tasting, tender green beans pick the beans when the pods are small and the
“bumps” inside barely noticeable. Keep
beans picked off the plant before they get too large and the pods begin turning
yellow as this keeps the plants producing new beans. (Wax beans will be yellow.)
Don’t wash until just before cooking.
Beans can be stored in the refrigerator for a few days before use. Can or freeze them if they can’t be used in a
few days.
Radishes, beets
Harvest these when
they are still small. As they get older
they get woody or pithy. Radishes can be
round or long like carrots. The color of
beets and radishes doesn’t change much as they mature. You’ll be pulling up the whole plant. Wash the roots, trim the leaves back to about
half and store refrigerated if you aren’t going to use them immediately.
Carrots
You can pull
carrots when they are small, about the size of a pencil or let them get
larger. Some carrots will be a bit woody
as they get larger, but most will still have good flavor. Carrots can even be
heavily mulched and left in the ground to harvest in late fall and winter. If carrots are going to be stored for any
length of time, trim off most of the leaves and leave them unwashed until just
before use. Store carrots in a cool, moist place. A few can be wrapped in a moist paper towel
and stored in the crisper of the refrigerator.
Squash/pumpkins
There are two types
of squash, summer squash which includes zucchini and winter, which includes
Hubbard, acorn and other types. Summer
squash are harvested when they are young, and the skin is still thin. When they get large and mature they have a
lot of seeds and are tough and not flavorful.
Some summer squash are green when young and change color as they
mature. But some like the patty pans are
the same color when young or mature and this can be white or yellow or even
other colors. Summer squash types don’t
store for long and should be stored in a cool place.
Winter squash are
meant to mature before eating. They
usually start out green and can be a variety of colors when mature. You want them to have a firm, thick
skin. Pumpkins are winter squash. You’ll want them to be fully colored before
you pick them as squash do not color up much more after picking. Harvest all winter squash and pumpkins before
a hard freeze or they will rot. Some
squash will taste fine if not quite mature, but the really immature ones should
probably be put in the compost if you have to pick them early. Store your
pumpkins and winter squash in a warm, (room temperature), dark place for long
term storage.
Melons
Melons includes
cantaloupe, honeydews, watermelon and some other varieties. Melons are one of the harder things to judge
when they are ready to harvest, and an unripe melon just doesn’t taste very
good. Melons don’t continue to ripen after they are picked. An overripe melon is equally awful. As you grow melons year after year you will
get adept at recognizing ripeness but until then count on a few mistakes.

Cantaloupe doesn’t
develop the netting on the surface until late in development. They may look green and smooth at an earlier
stage. Other melons may also change
appearance as they mature. A few melons have been developed to change color
when mature so they are easier to pick at the right time. Study the descriptions of melon varieties so
you know what to expect and mark the variety in the garden. Garden experts get many questions about what
type of melon is growing in another gardener’s garden each year as people try
to figure out what the odd-looking fruits are.
Most melons when
mature develop a yellow spot where the melon rests on the ground. The tendril on the end opposite the stem
should be dried up or absent. Some
melons will easily slide off the vine when mature but this isn’t a reliable
test as some ripe melons will need to be pulled or cut off. If a melon begins to crack its generally
ripe- on the verge of over ripeness, although excessive rain may cause some
unripe melons to crack too. It’s ok to
eat cracked melons if insects or animals haven’t beat you to it.
You can thump the
melon, but it takes experience to recognize the hollow sound of a ripe
melon. Smelling muskmelon, cantaloupe
and honeydew can be a good test; a ripe melon can be smelled without cutting
it. That’s the way chickens and other
animals recognize ripe melons and extra interest in your melon patch means the
melons are ripening.
Old-timers often
use the plug test on watermelon. When
you think a watermelon looks ripe take a pocket knife and cut a small plug out
of the melon and examine it. Cut a bit
off the end and taste it. If the melon
isn’t ripe you can put the plug back in and wait a few days. The same plug won’t be a reliable indicator
for a second test though.
Potatoes
Potatoes can be
harvested starting about 2 weeks after they bloomed, for new potatoes. You can dig down and harvest just a few baby
potatoes, leaving the plant or dig up one plant in your patch. You can harvest
any time the tubers are the size you like.
When the tops of potatoes have wilted and died, the crop is mature and
can be dug, as the tubers will not grow any larger. If the weather is dry and pests aren’t a
problem, you can leave the potatoes for a while in the ground. Harvest before a hard freeze or harvest as
soon as mature if the soil tends to get soggy for long periods. If a hard
freeze is predicated and your tops haven’t died yet the potatoes can still be
harvested.
Let potatoes that
you intend to store for a while sit spread out in a warm, dark spot for a day
or two to cure. Then brush off the dirt
and store in a cool, dark place. Don’t
wash until used. Don’t refrigerate
potatoes for storage- the starch will turn to sugar and give them an off taste.
Sweet Corn
Sweet corn is ready
to harvest when the ears feel plump and the corn silk looks brown and dry. You can peel a little husk back and poke your
fingernail into a corn kernel. If a
clear fluid squirts out it’s not quite ripe.
If a milky fluid comes out it’s at the perfect stage. If no fluid comes out it’s probably starting
to get tough and is past the best eating stage.
Corn will hold on
the stalk for a few days and ears will ripen over several days to 2 weeks in
any patch of corn. Try not to harvest
corn until right before you are going to cook it for the best taste. If the corn patch is producing more than you
can eat each day give some away, can or freeze it. Next year plant small patches of corn at two-week
intervals so it won’t ripen all at once.
To hold sweet corn
for a few days leave it in the husk, keep it moist and refrigerated. Corn loses flavor each day it is stored as
you will realize the first time you have your own corn picked just before it’s
cooked.
Onions

Like many crops
onions are ready to eat at many stages.
For green onions pull the plants when the stems are the size of a
pencil. Let the rest mature until you
like the size they are or need an onion.
Onions need to be kept from going to seed or the bulb will stop
growing. When the leaves get tall and
start to thicken at the base bend them over.
This helps them put energy into bulb production and not flowering.
If onion tops have
died down and dried the bulb isn’t going to get any bigger so they should be
dug and stored. If the weather is dry
you can leave them in the ground for a while before harvesting if you need
to. After harvesting let them dry in
the sun for a day or two, then remove the tops. Don’t wash them until just
before use and leave the outer papery skin on.
Store onions in a dark, dry place above 40 degrees. Some types of onions, usually the sweet types
don’t store well whole. Those are best
chopped and frozen for storage.
Cosmos- light and lively summer charmer
No, we aren’t talking about the magazine or the vast universe but
rather a delightful annual flower that can light up the summer garden. Cosmos are unusual because the common name
and scientific name are the same, although Cosmos is the genus name and there
are several species. Cosmos bipinnatus is a common garden
species, but many cosmos species have been hybridized to make some garden
varieties. Cosmos atrosanguineus,
often sold in catalogs as chocolate cosmos or chocolate daisy is thought to be
extinct in the wild.

Cosmos are native to Mexico, South America and the southern United
States. It is thought that Spanish priests growing them in Mexican named them
because of the orderly spacing of the petals – cosmos refers to “orderly
universe” in Greek or Latin. Most garden
species are annuals, but some perennial species exist. In many places around the world cosmos have
naturalized or gone wild. Cosmos will
grow in poor, dry soil and are easy to grow.
They are excellent for children’s gardens, cottage style and informal
beds and also attract butterflies and bees.
Cosmos are good cutting flowers too.
The Cosmos bipinnatus
plant and related cultivars has fine, narrow leaves that occur in pairs along
the stem, giving them a lacy or ferny look. Their flowers generally occur in
pastel colors, rose, lavender and white. Cosmos
sulphureus or the yellow cosmos has broader, lobed leaves that remind one
of marigold leaves. The colors of this cosmos and its cultivars are hot colors,
red, orange and yellow. Cosmos range from about 2 feet to 4 feet or so tall,
depending on the variety and growing conditions.
All cosmos flowers are daisy like, with a yellow center and
colored petals surrounding the disk.
Some ornamental cosmos have the petals rolled into a quill or “shell”
shape. There are now cosmos flowers that
are bi-color or streaked as well as double flowered. Cosmos begin blooming in mid-summer, as the
days begin to shorten and with a little deadheading will bloom until
frost.
Some varieties of cosmos are ‘Seashells’
– a mixture of pastel flowers with rolled or quilled petals, 'Candy Stripe' which is white with red streaks, 'Day Dream' is white with a red center, 'Picotee' has white petals with red
edges, ‘Antiquity’ comes in shades of
dusky pinks and mauves, ‘Double Take’
is a lovely double flowered form white , with red or pink stripes, ‘Double Click’ has double flowers in
soft pinks, ‘Bright Lights’ is a
mixture of hot colors, ‘Sensation’ is
a mix of pastel colors. A cultivar of
the chocolate cosmos, Cosmos atrosanguineus
is ‘Choca Mocha’ which is a deep chocolate color.
Cultivation of cosmos
You can sometimes find started plants in the spring but cosmos are
very easy to grow from seed sown directly in the garden. Simply sprinkle the seeds on bare moistened
soil where you want them to grow after danger of frost has passed and lightly
cover them with soil. Plants grown from
seed will often bloom at the same time as plants set out as transplants because
cosmos don’t bloom until the days are getting shorter. Thin seedlings to about a foot apart.

Cosmos will thrive in almost any soil and can tolerate some
drought, although they appreciate some watering when it’s really dry. They need full sun. Moderate fertilization, such as a timed-release
flower food mixed into the soil at planting, may increase the number and size
of flowers but it may also cause the cosmos to “flop” which they are somewhat
prone to anyway. They are best mixed in
among sturdier plants that help support them or planted in a dense group to
help them support each other. Cosmos
have few insect pests or diseases and will generally flower reliably for you.
Deadheading- removing the flowers as they fade- keeps the cosmos
plant blooming longer and encourages it to produce flowering side
branches. As frost approaches you may
want to leave some flowers alone and collect the seeds that form. Or you can let the seeds fall in the garden,
which some seem to do anyway, and they will usually sprout when the weather
warms. Be watching the area for the tiny
seedlings next spring and don’t pull them thinking they are weeds.
If you need a tough, easy flower to add late summer color to the
garden try some cosmos.
Blueberry Jam
In many
areas of the country blueberries are being harvested. Here’s how to make blueberry jam.
This
recipe will make about 7 half pint jars.
Sterilize the jars and lids before filling and let them sit in hot water
until just before filling.
Combine
9 cups of crushed blueberries with 6 cups of sugar in a large pot. Do not add water!
Cook
over low heat until the sugar dissolves, then turn up the heat slowly and bring
to a full boil. Cook and stir until the
mixture is very thick.
Pour
the jam into hot jars to a ¼ inch from the rim.
Wipe the rim, put on the lids and tighten them. Process jars for 5 minutes in a water bath
canner. Cool on a towel, make sure they
have sealed, and label jars before storing.
Note: A water bath canner is simply a large kettle
with a rack in it for jars and a lid.
You fill it with water to 2 inches above the jars. Use warm water when
adding hot jars. Bring the water to a
boil and then start counting your minutes for processing.
Six weeks of summer left, get out and enjoy!
Kim Willis
And So On….
Find Michigan garden events/classes
here:
(This
is the Lapeer County Gardeners facebook page)
Newsletter/blog information
All parts of this blog are copyrighted and may not be used without
permission.
I write this because I
love to share with other gardeners some of the things I come across in my
research each week. It keeps me engaged with people and horticulture. It’s a
hobby, basically. I hope you enjoy it. If you are on my mailing list and at any
time you don’t wish to receive these emails just let me know. If you know
anyone who would like to receive a notification by email when a new blog is
published have them send their email address to me. KimWillis151@gmail.com
If you have a comment or opinion you’d like to share, send it to
me or you can comment directly on the blog. Please state that you want to have
the item published in my weekly blog if you email me. You must give your full
name and what you say must be polite and not attack any individual. I am very
open to ideas and opinions that don’t match mine, but I do reserve the right to
publish what I want. Contact me at KimWillis151@gmail.com


